How to draw a swimlane diagram
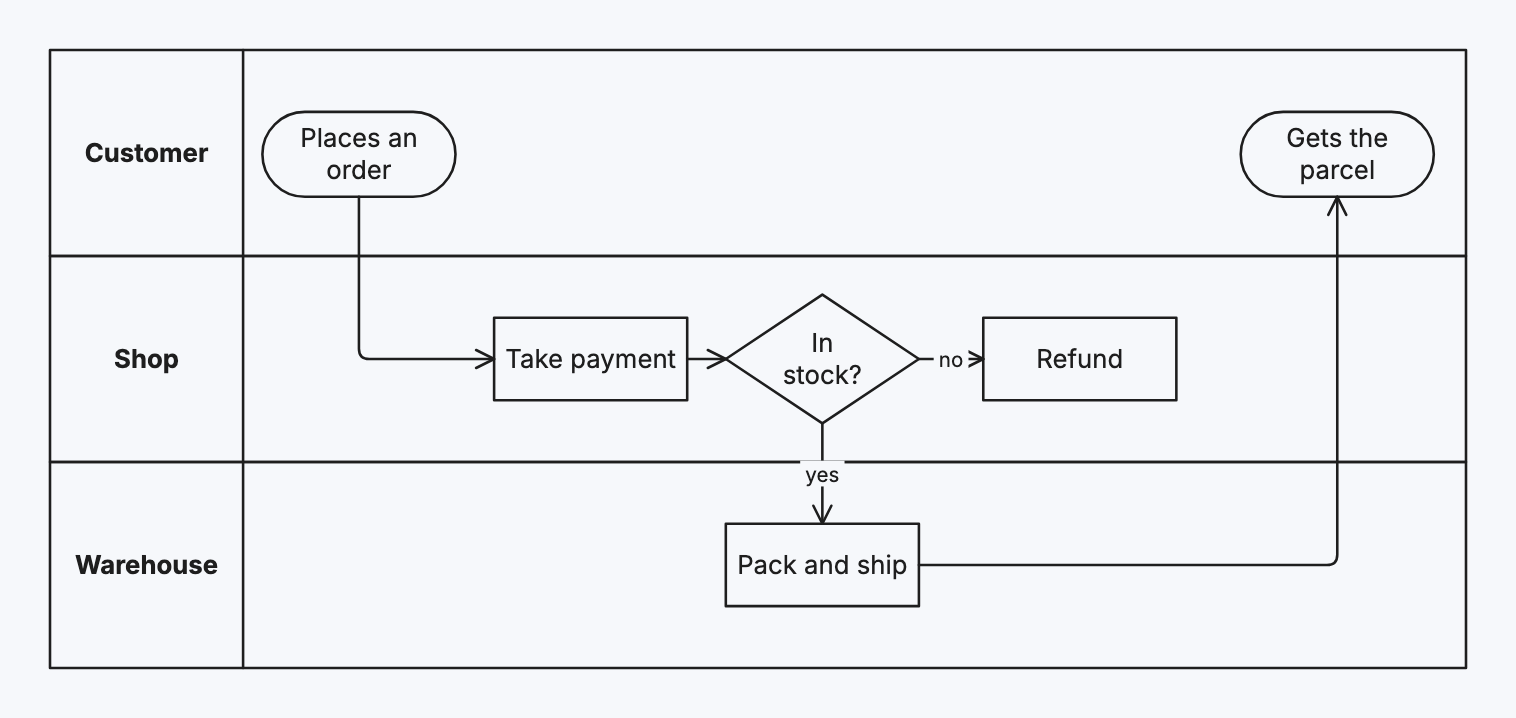
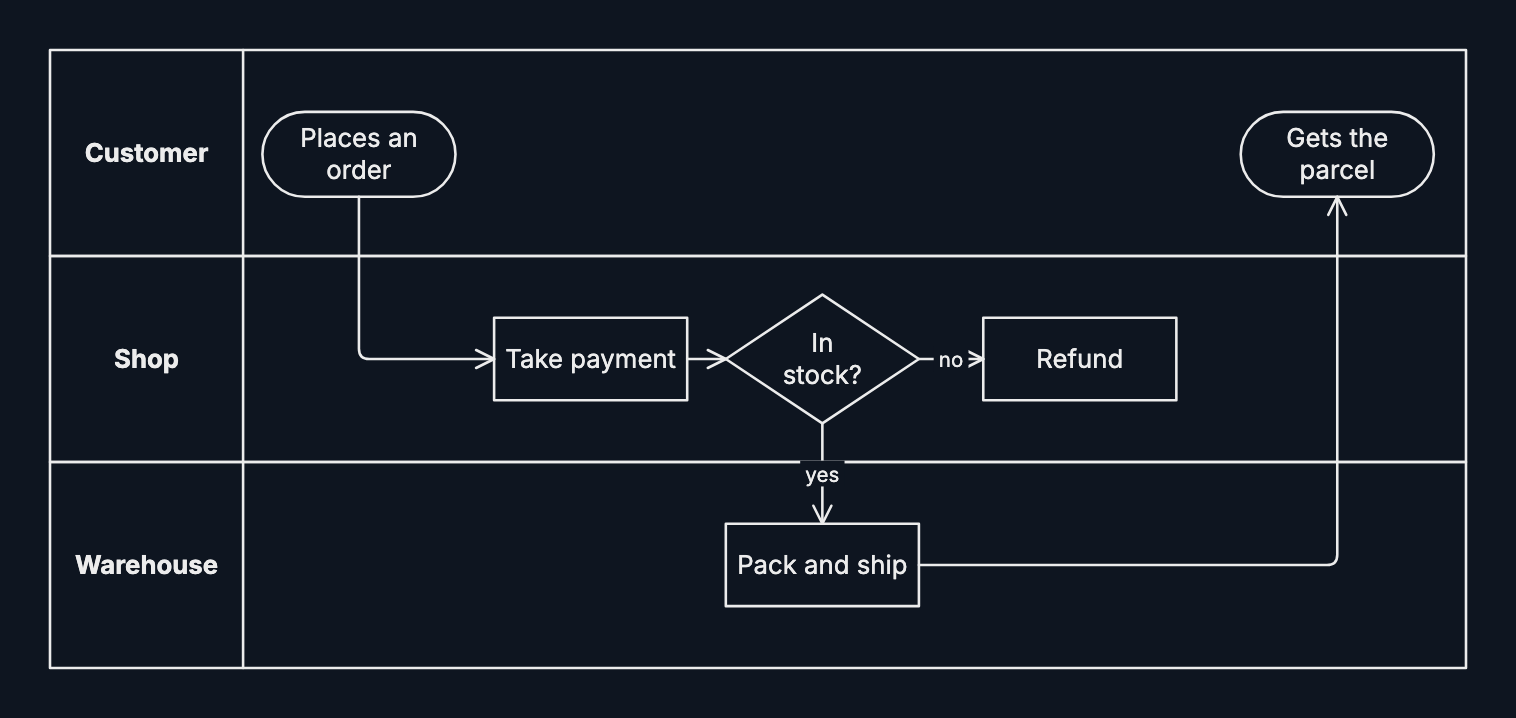
A swimlane diagram is a flowchart split into lanes, one for each person, team or system, so you can see who does each step and where the work changes hands. Draw one when a process crosses teams: an order, an approval, onboarding.
Step by step
-
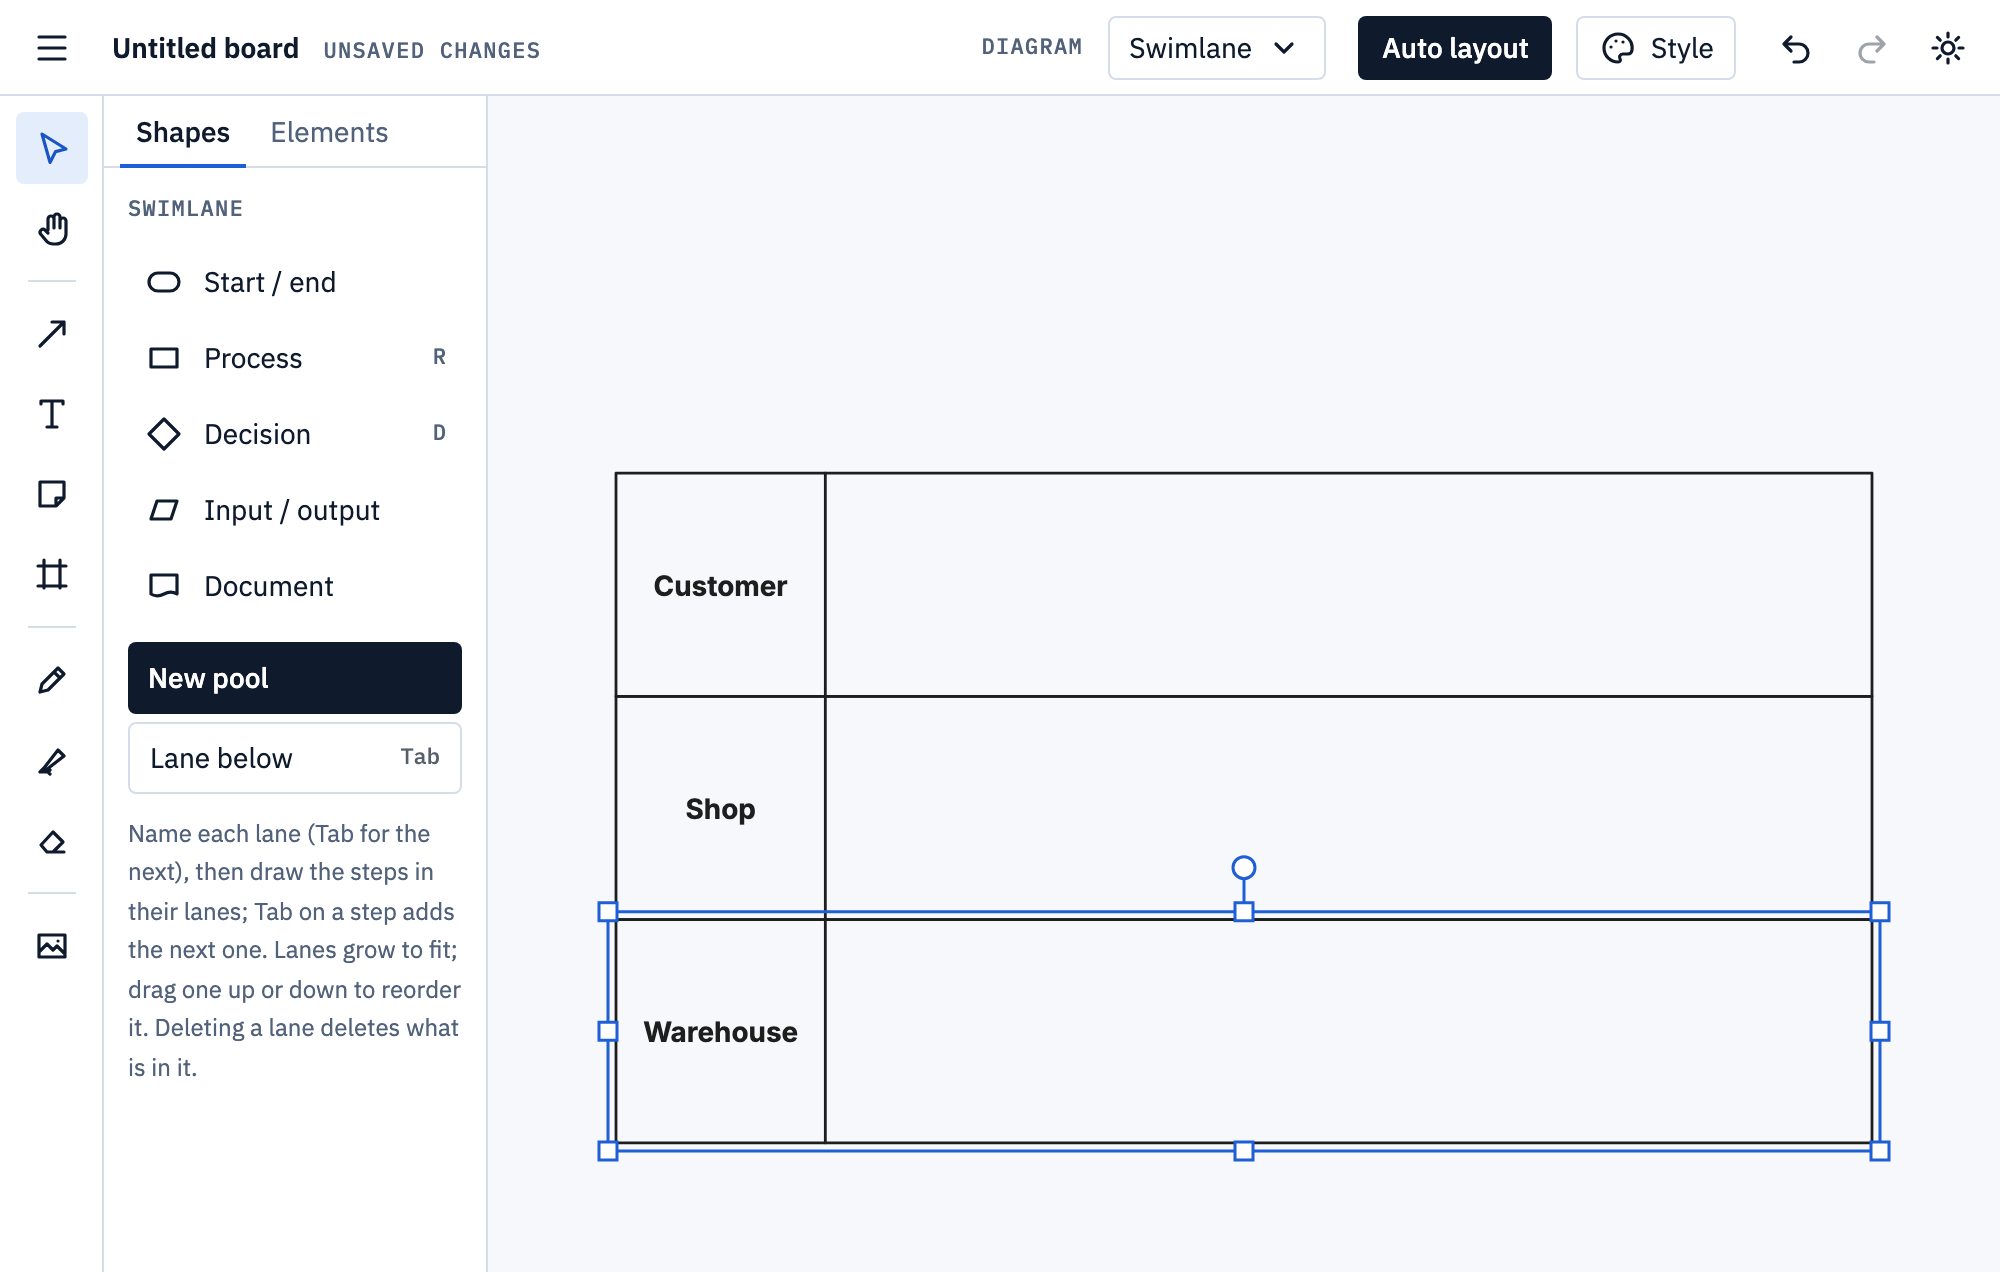
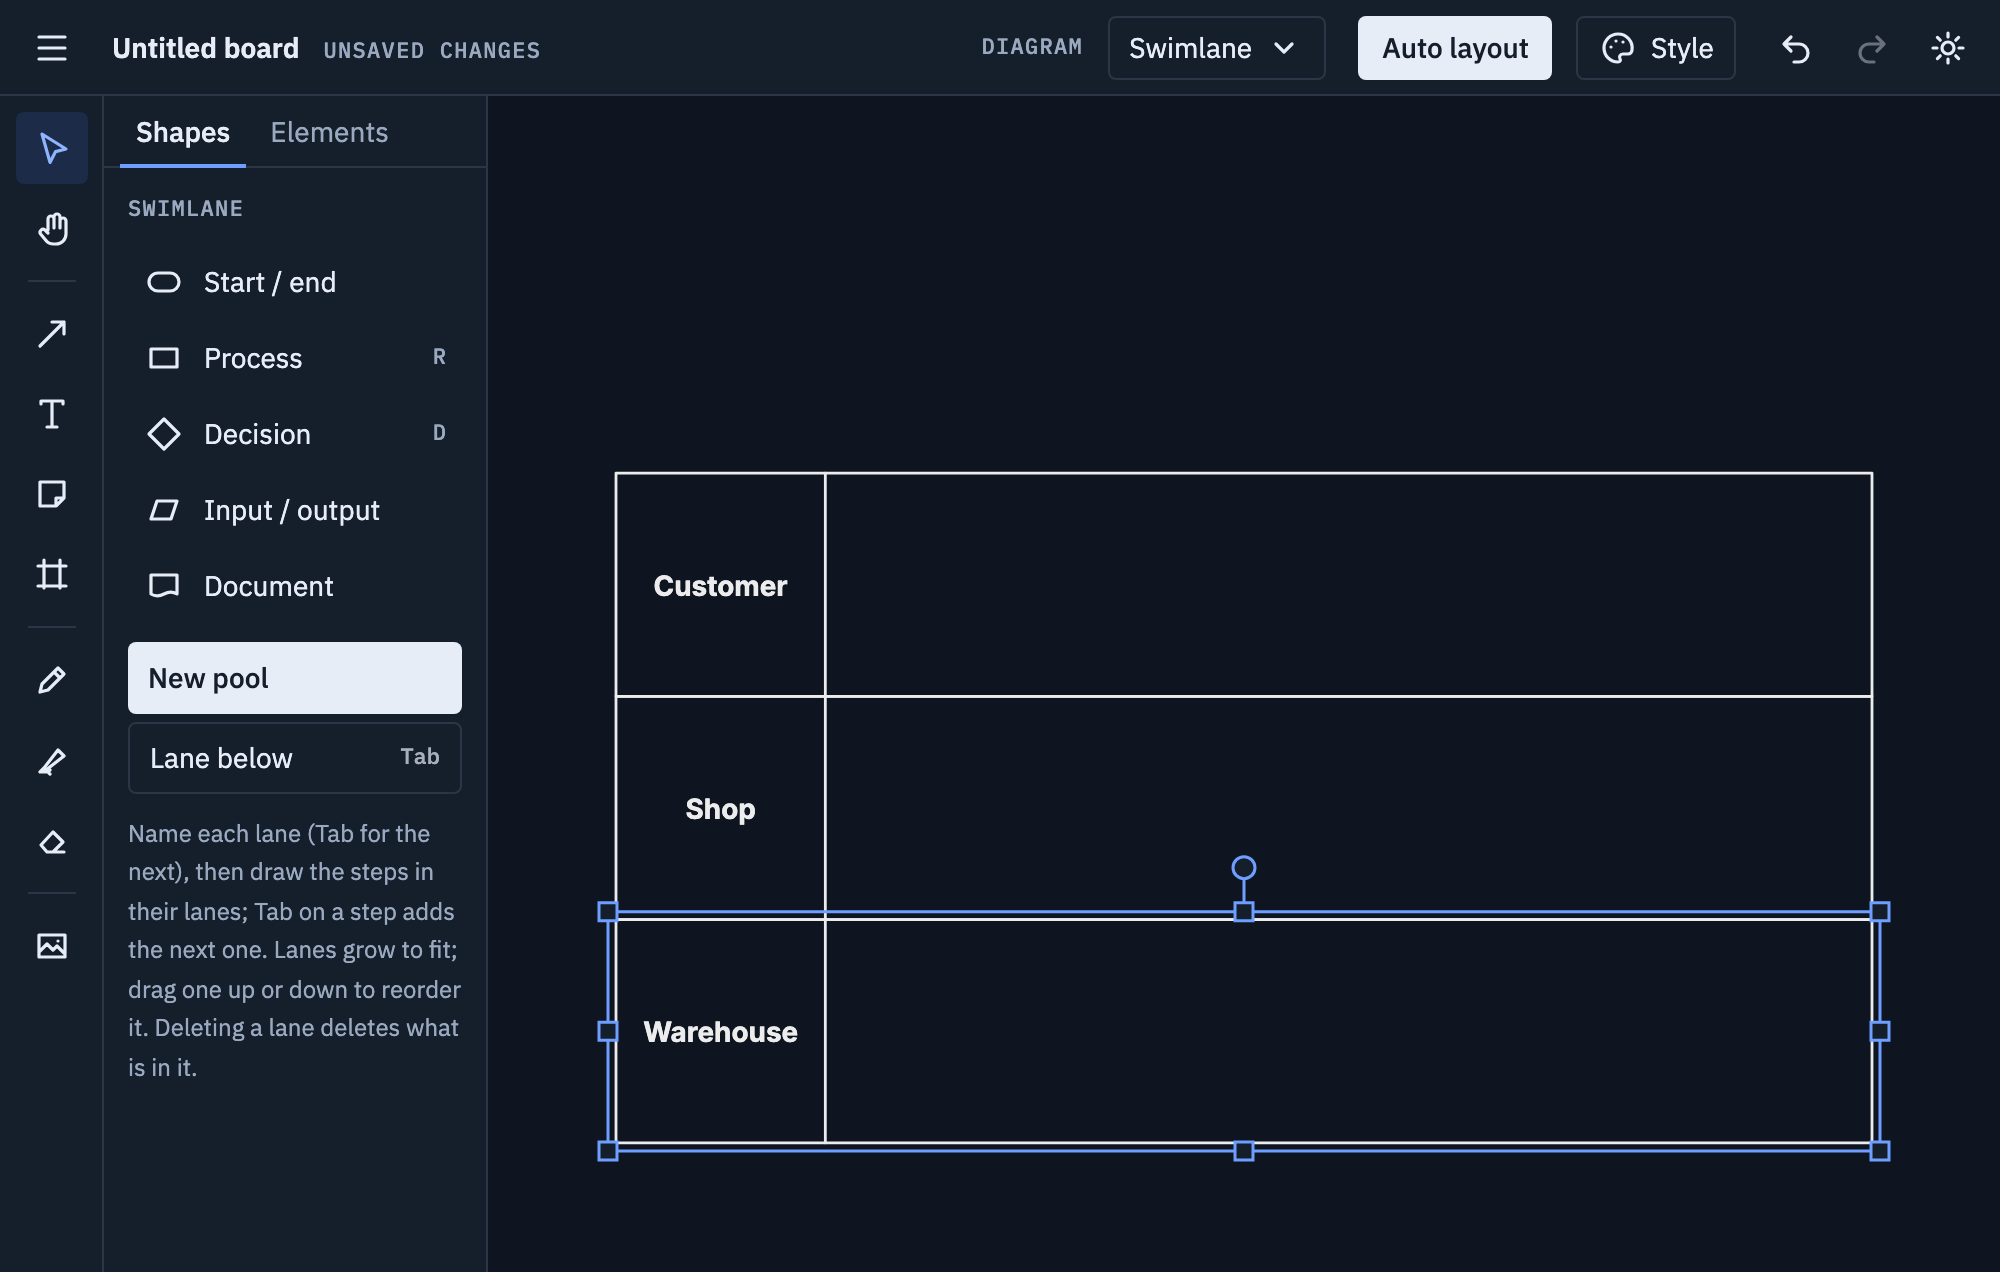
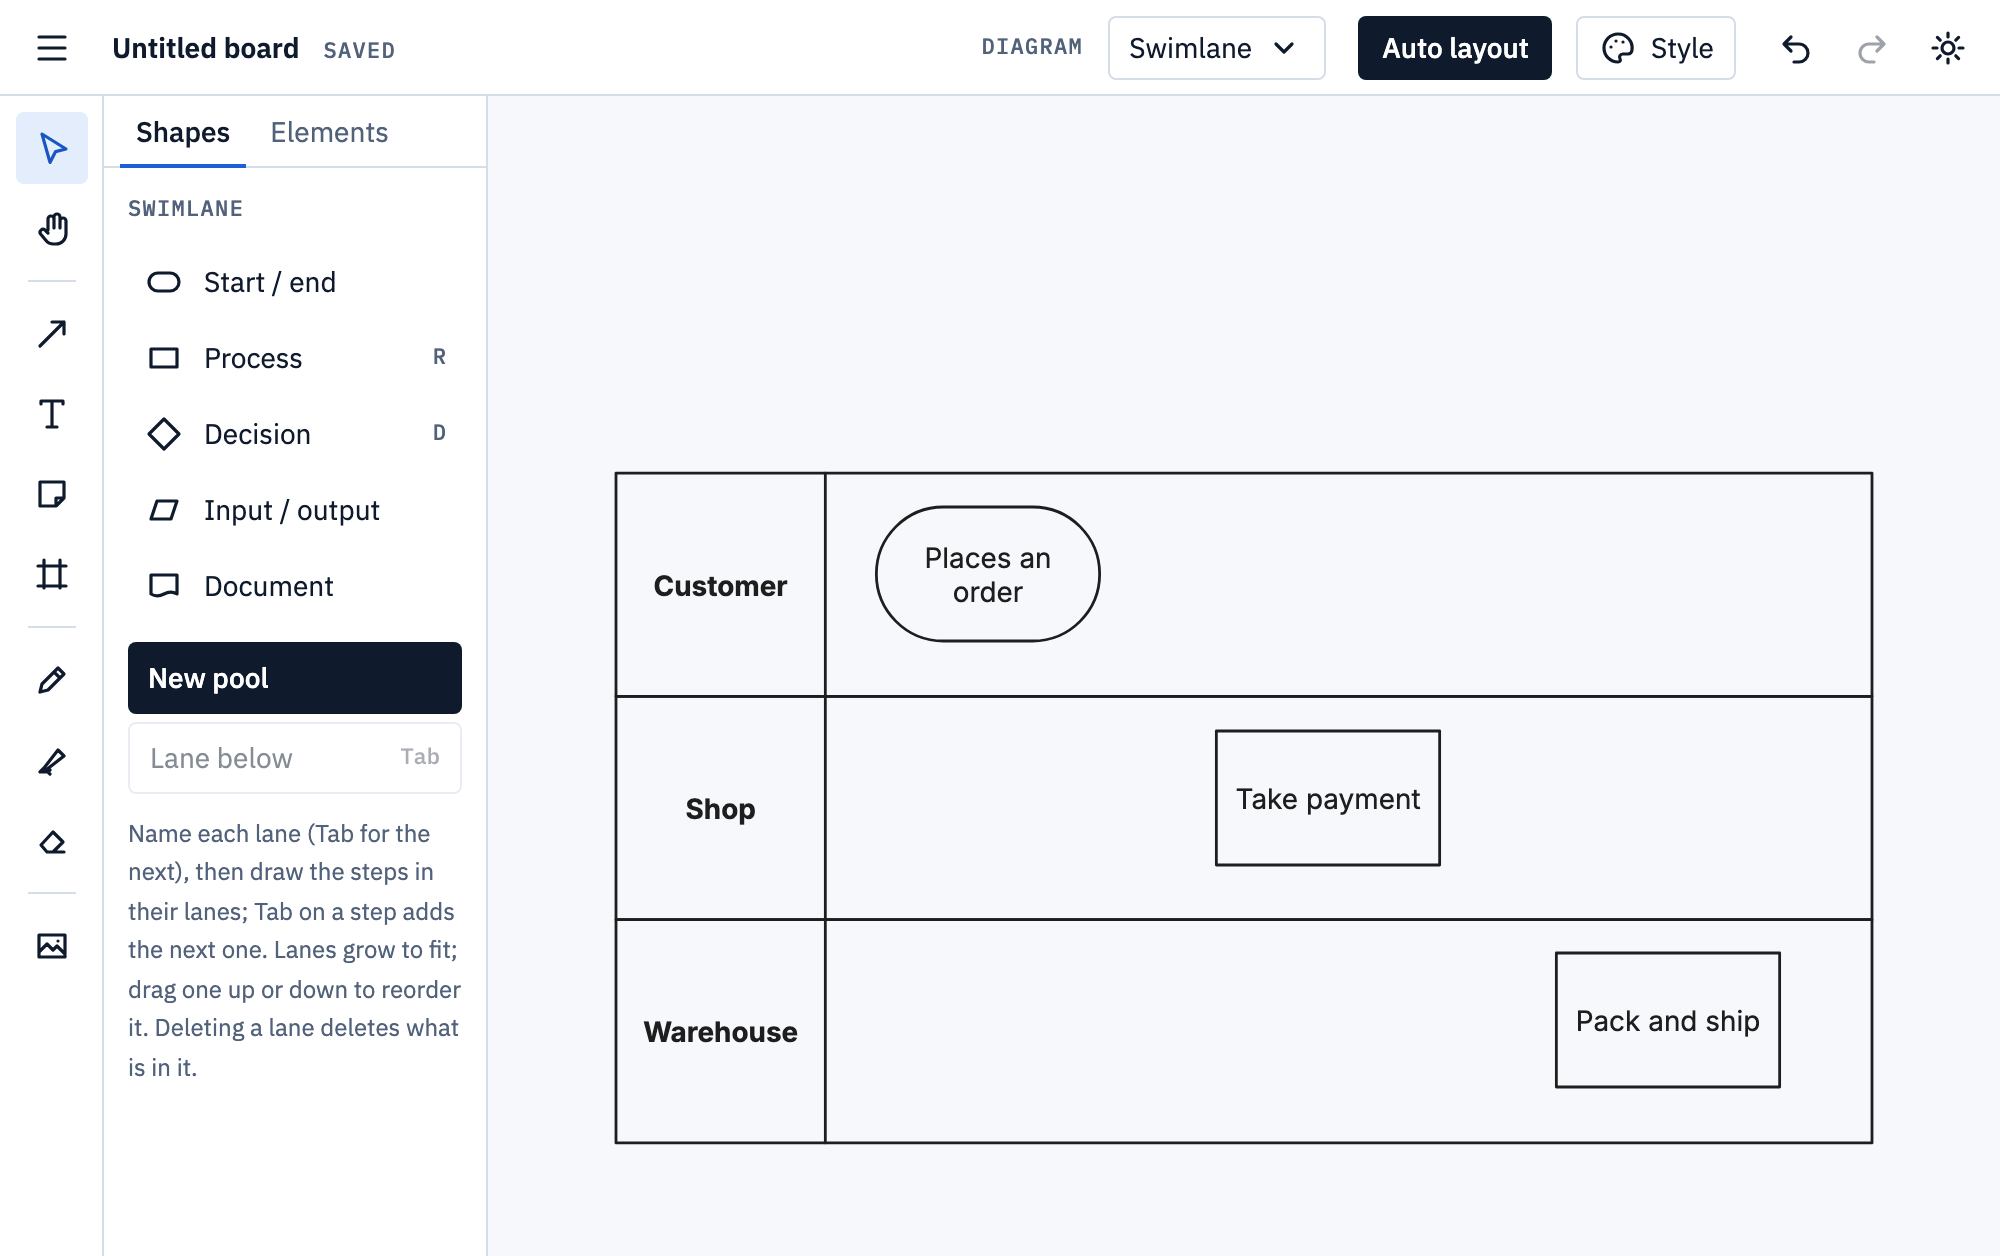
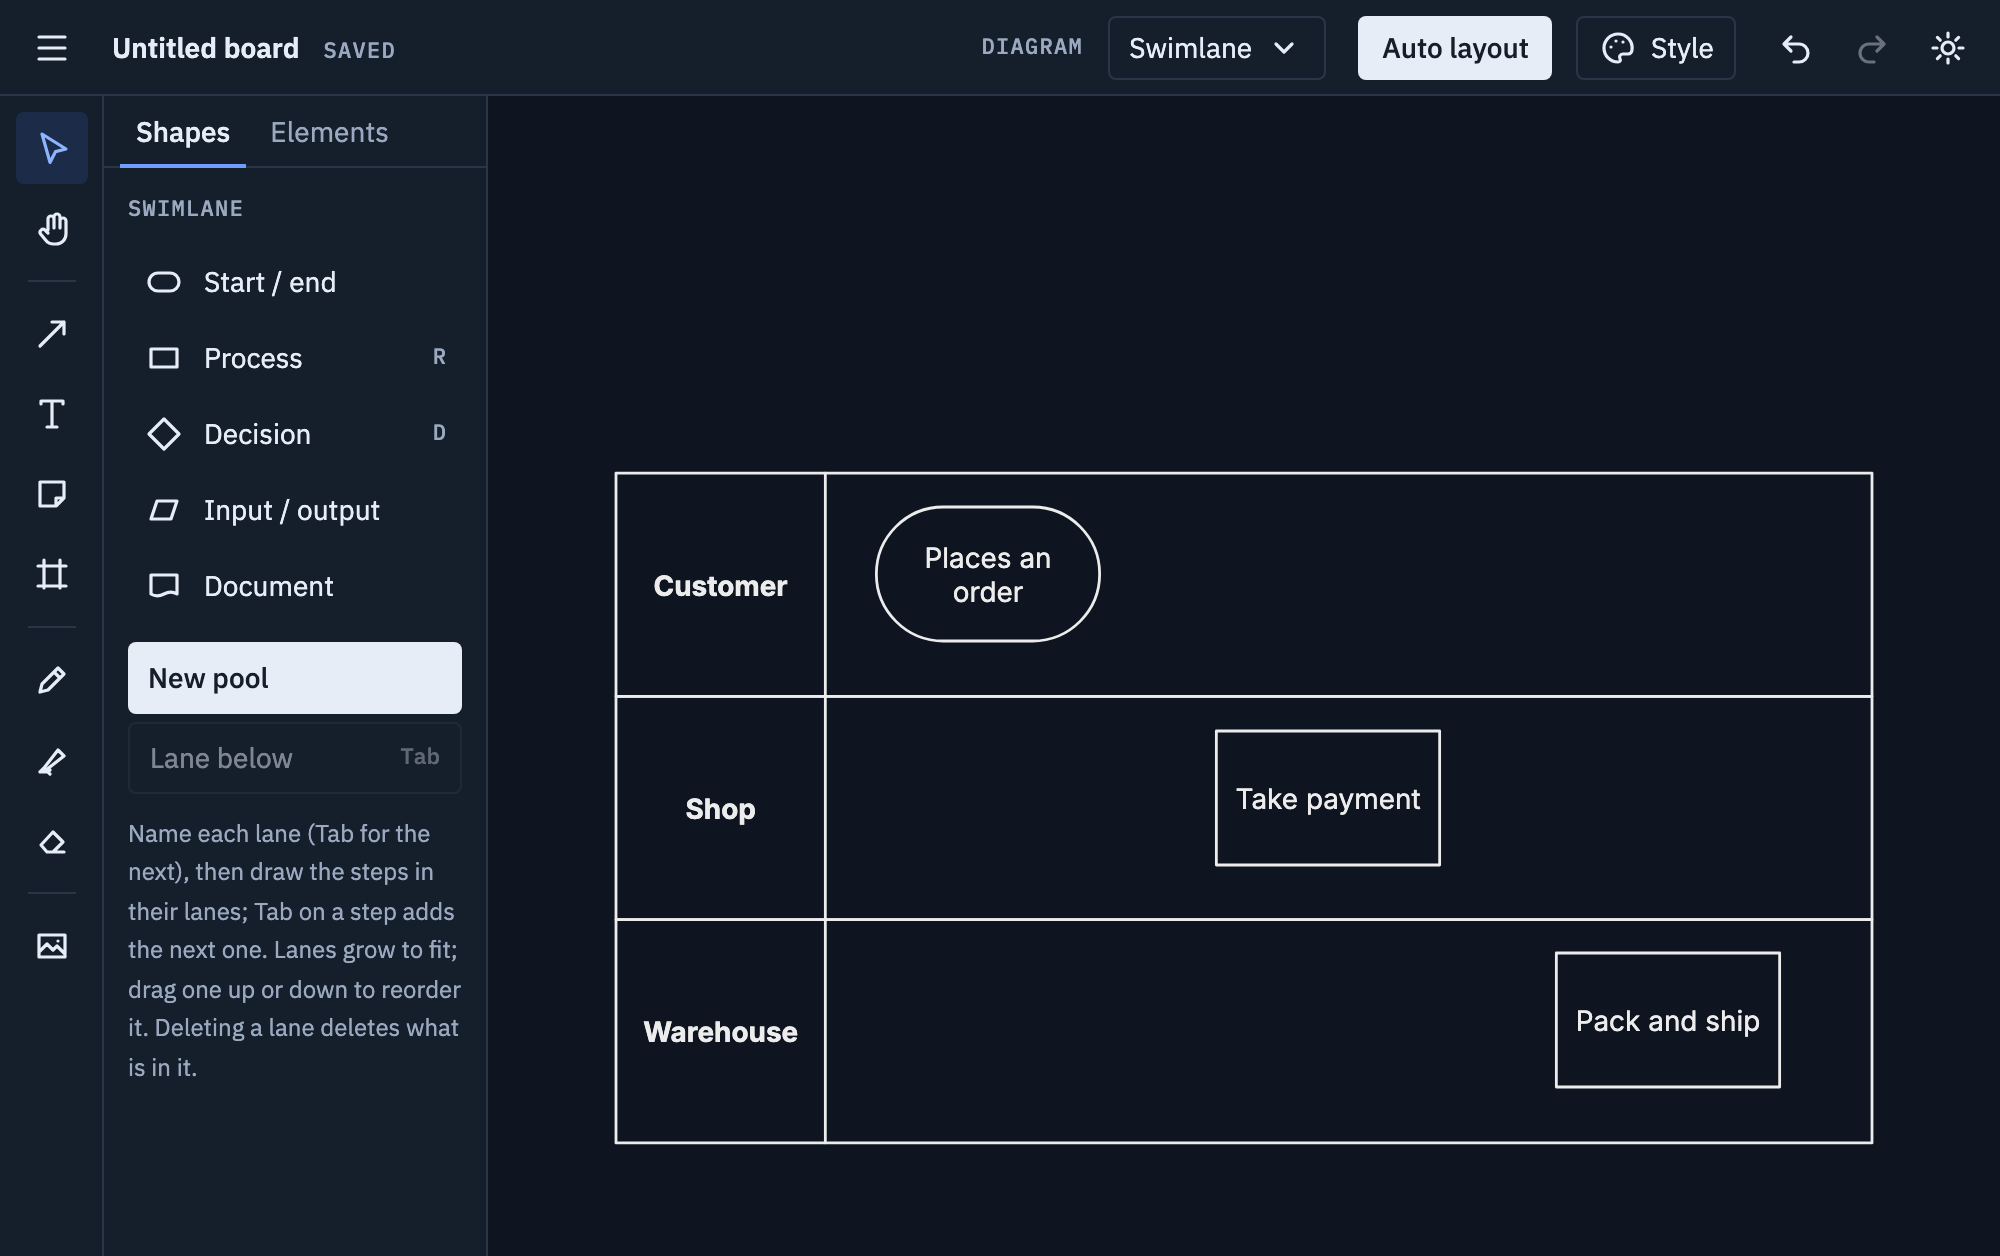
Pick Swimlane from the Diagram menu and click New pool. Type the first lane’s name, press Tab for the next one, and Escape when you’re done. Tab on the last lane adds another.
-
Put each step in the lane of whoever does it: click a shape in the panel, then click inside the lane, press Enter and type. A lane grows to fit what’s in it, and the lanes below make room.
-
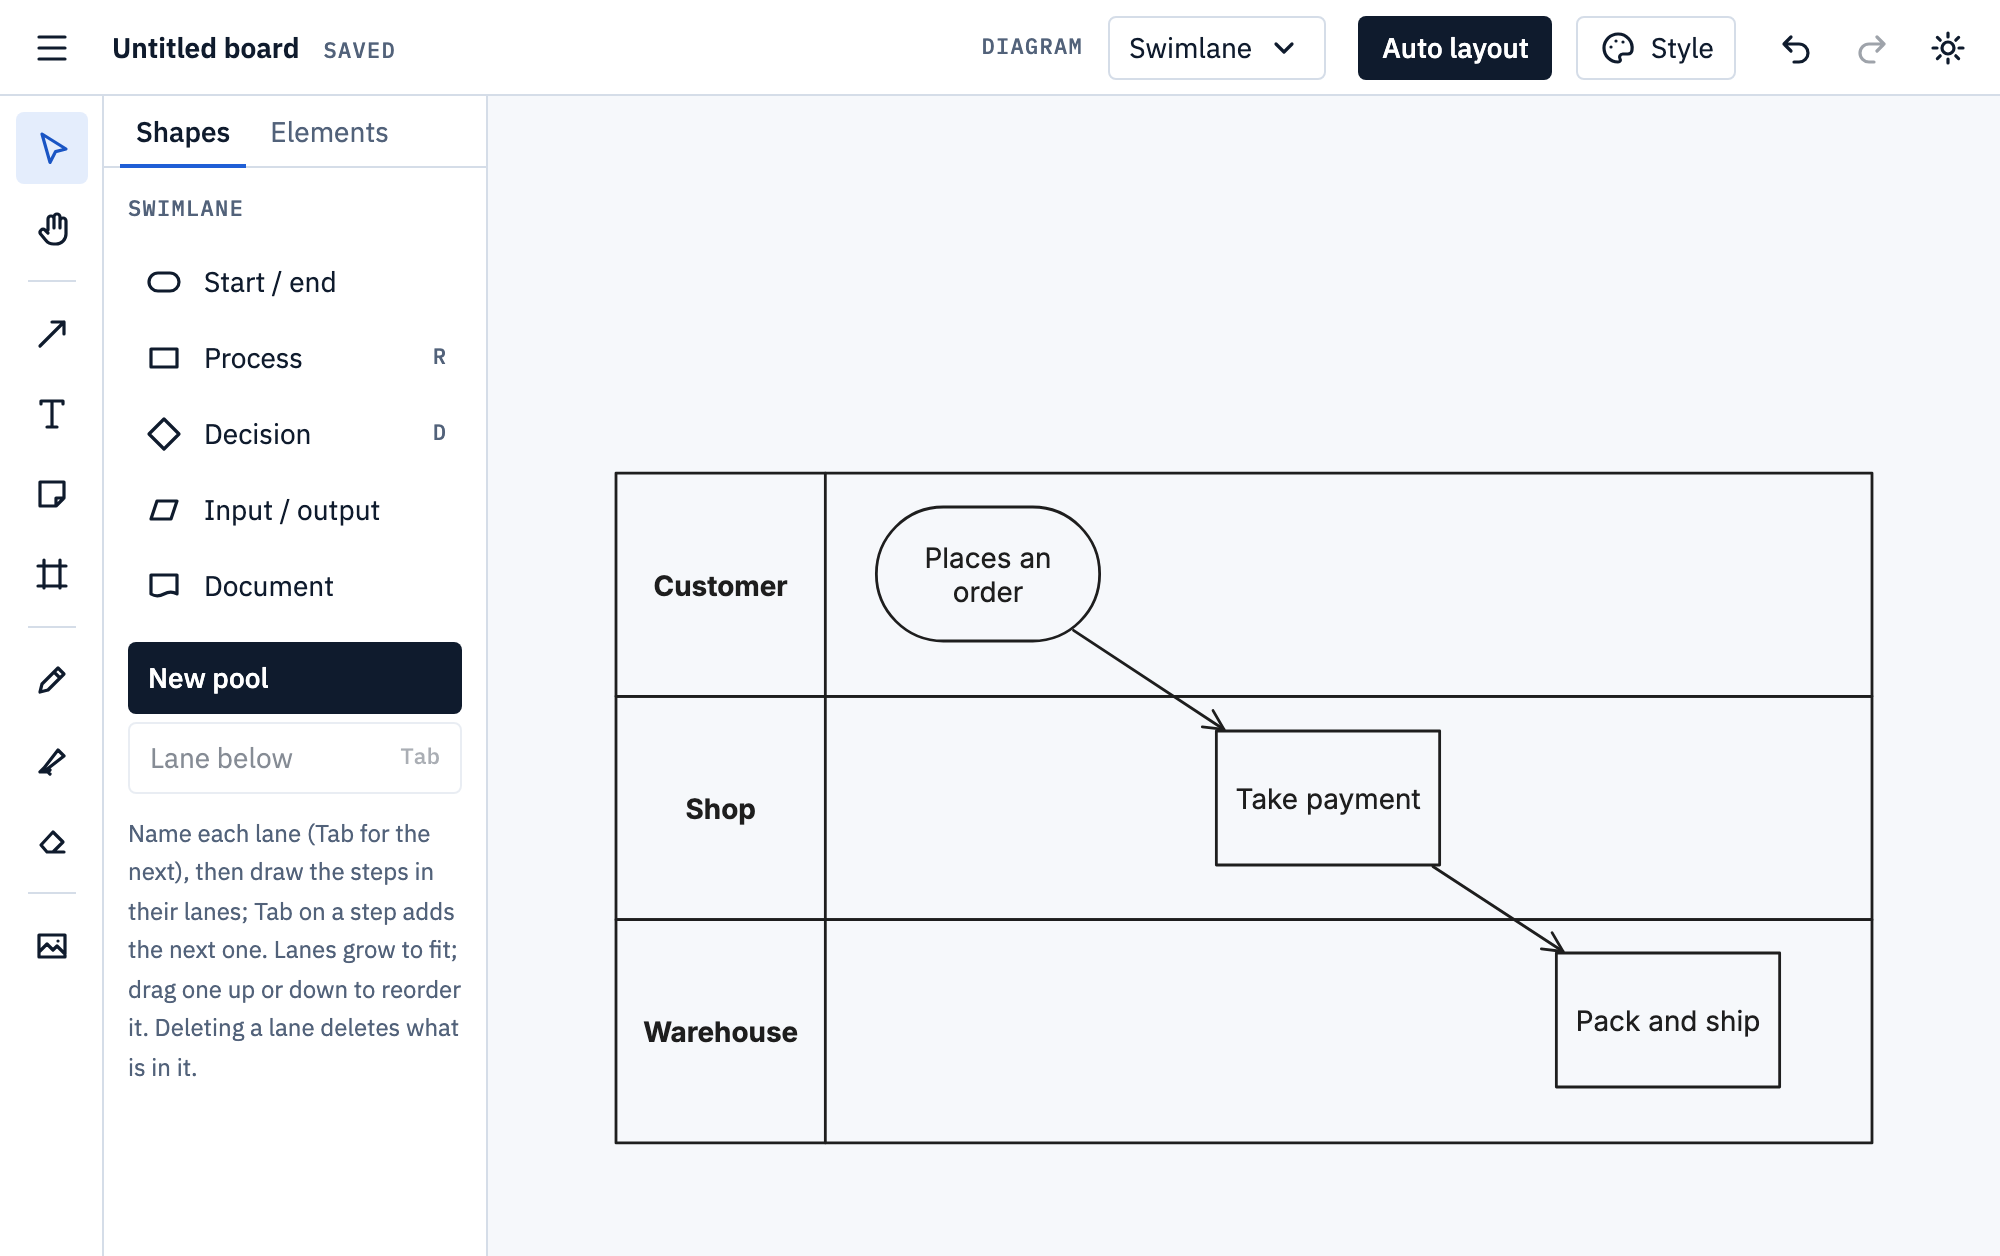
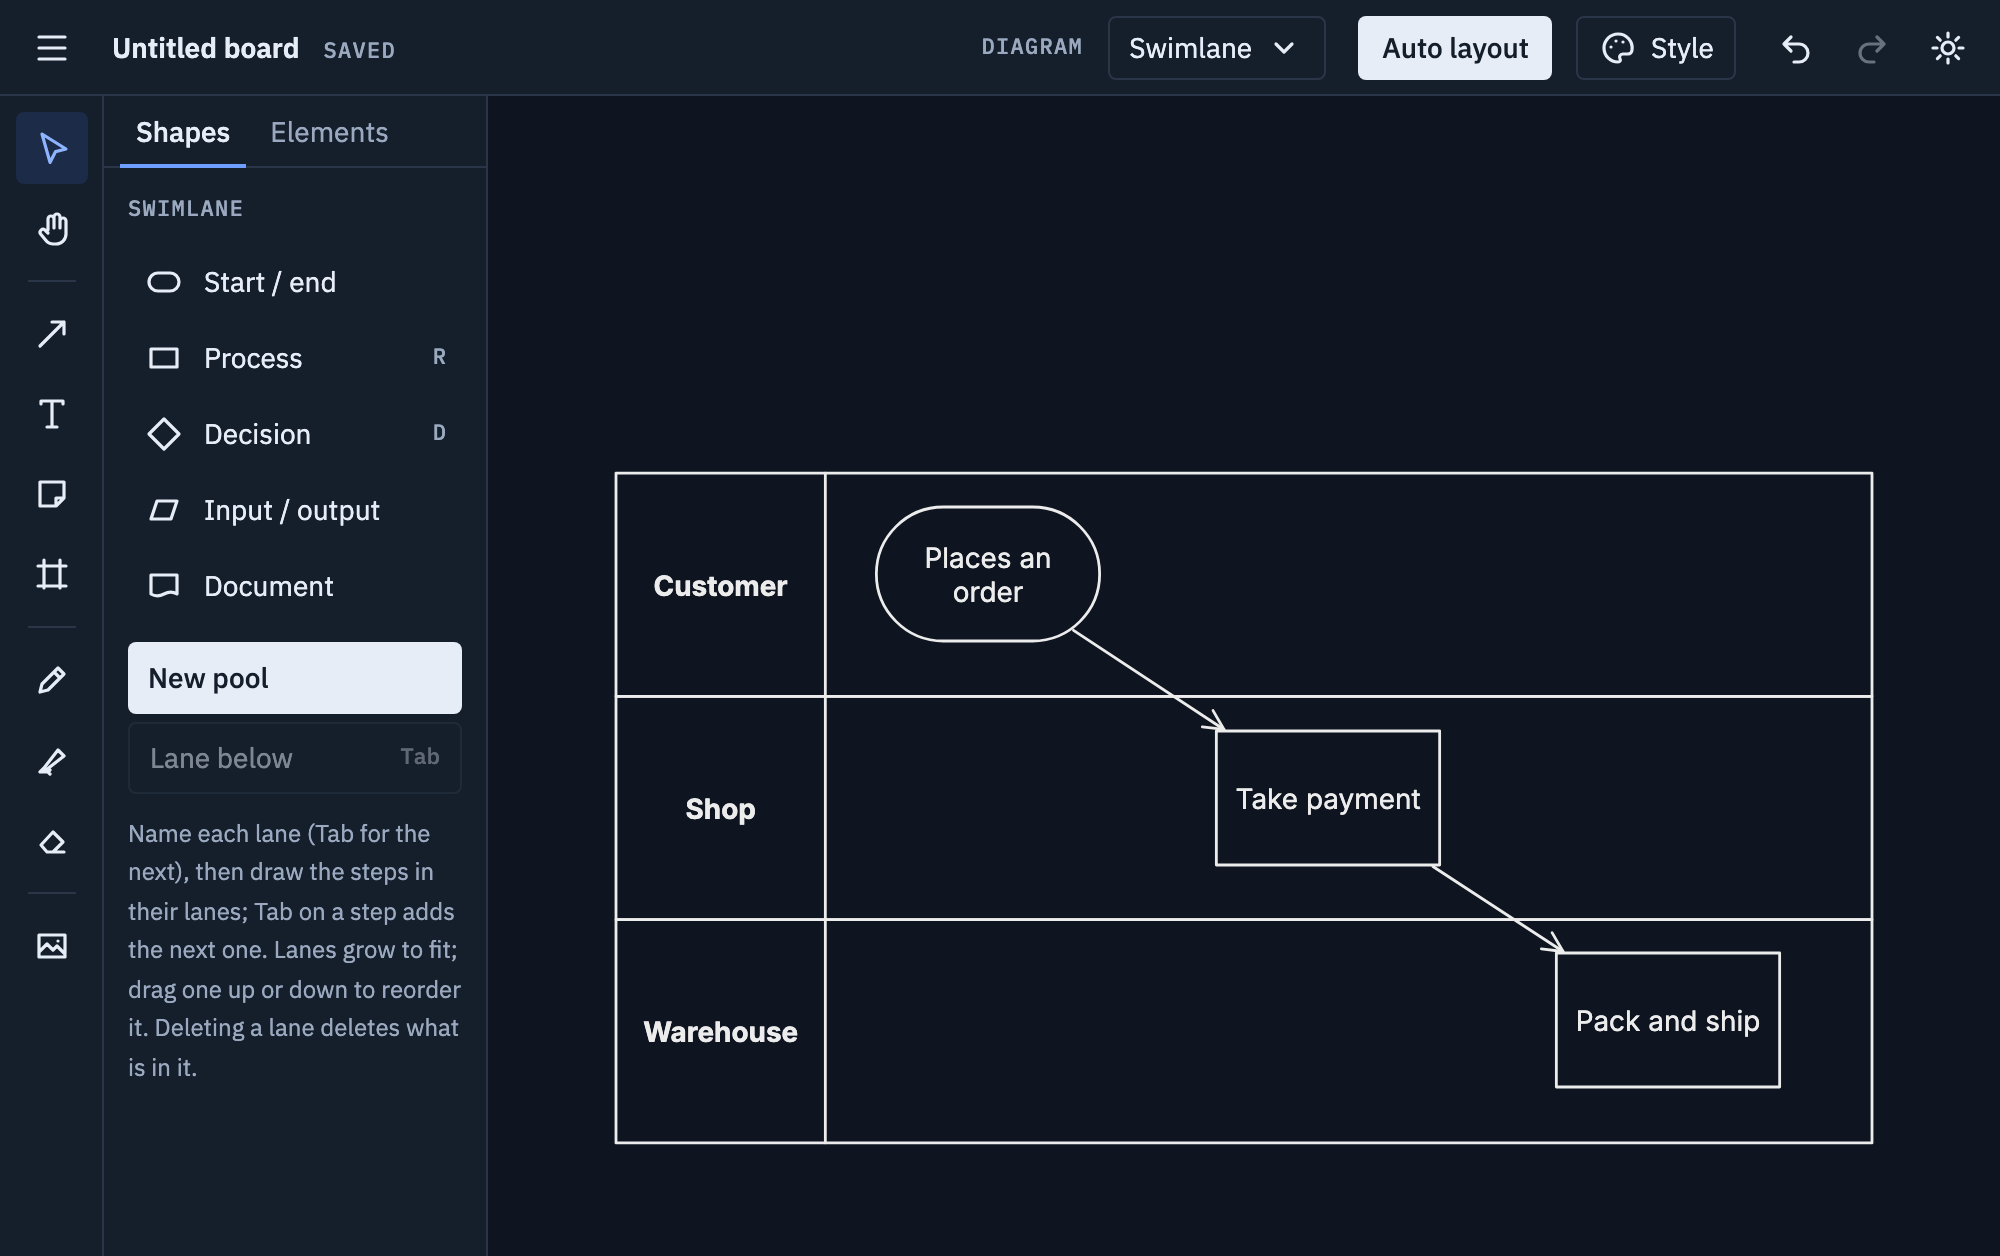
Connect the steps: press A and drag from one to the next. Arrows between lanes are where one person hands the work to another.
Tips
- One lane per role, not per person: “Support”, not “Maria”, so the diagram survives a change of staff.
- Put the lane that starts the process at the top, and flow left to right.
- To reorder lanes, drag one up or down past another. To add one in between, select a lane and click Lane below.
- Deleting a lane deletes the steps in it; Ctrl+Z (or ⌘+Z) brings them back.
- Lots of arrows going back and forth between two lanes? That hand-over may be worth a closer look.
Mermaid
Mermaid has no swimlanes of its own, so Export Mermaid… writes each lane as
a subgraph holding its steps:
flowchart LR
  subgraph Customer
    A([Places an order])
  end
  subgraph Shop
    B[Take payment]
  end
  subgraph Warehouse
    C[Pack and ship]
  end
  A --> B --> C
Pasting this text onto the board gives zones rather than lanes. More on Mermaid import and export.